
Once the List service is enabled, the Allowlist or Denylist can be added to the workflow.
This article will cover how to add the Allowlist or Denylist service in two parts:
- Adding the List Service and Tags
- List Service Attributes
- Updating the Outcome Logic

Adding the List Service and Tags
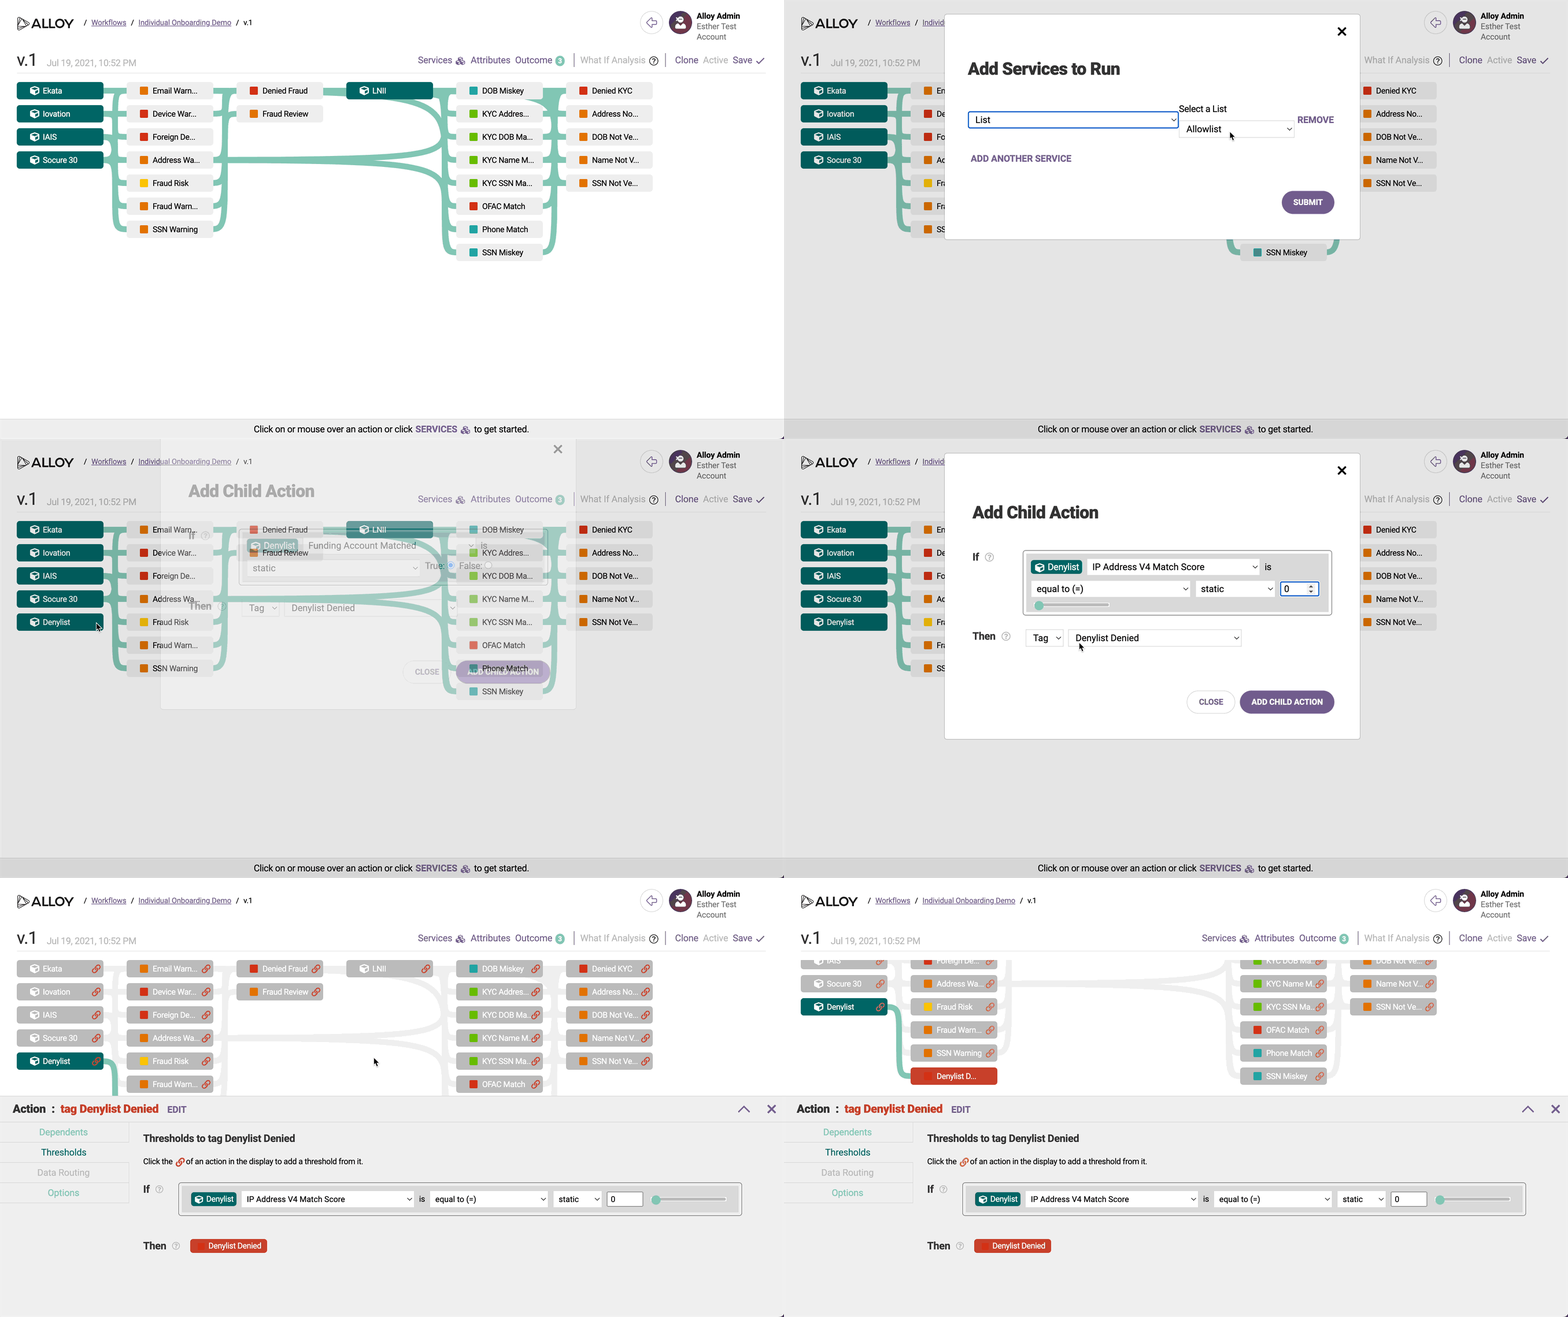
- Go to the workflow where the List Service (Allowlist or Denylist) must be added.
- Click on Services.
- In the Add Services to Run modal, select List from the drop-down.
- Select Denylist (or Allowlist).
- Click the SUBMIT button.
- Hover over the Denylist node and click on the “+” sign to add a dependent action.
- In the Add Child Action modal, select the attribute based on which PII element you’re looking to decision off of. For every PII element that can be used to check against the Deny (or Allow) List, there is a “Match Score” or “Matched” attribute. For more information on adding PII to the Deny List, check CSV List Import for Allowlist and Denylist.
- Select an attribute and then set up the conditions and logic. In this example, the “IP Address V4 Match Score” attribute is used.
- Select an action to take. In this example, the “Tag” action is selected.
- Select the Tag (or create a New Tag). In this example, the “Denylist Denied” tag is selected.
- Click Add Child Action button to complete adding a dependent action.
List Service Attributes
For every PII element you can match on, there's a "Match Score" and "Matched" attribute.
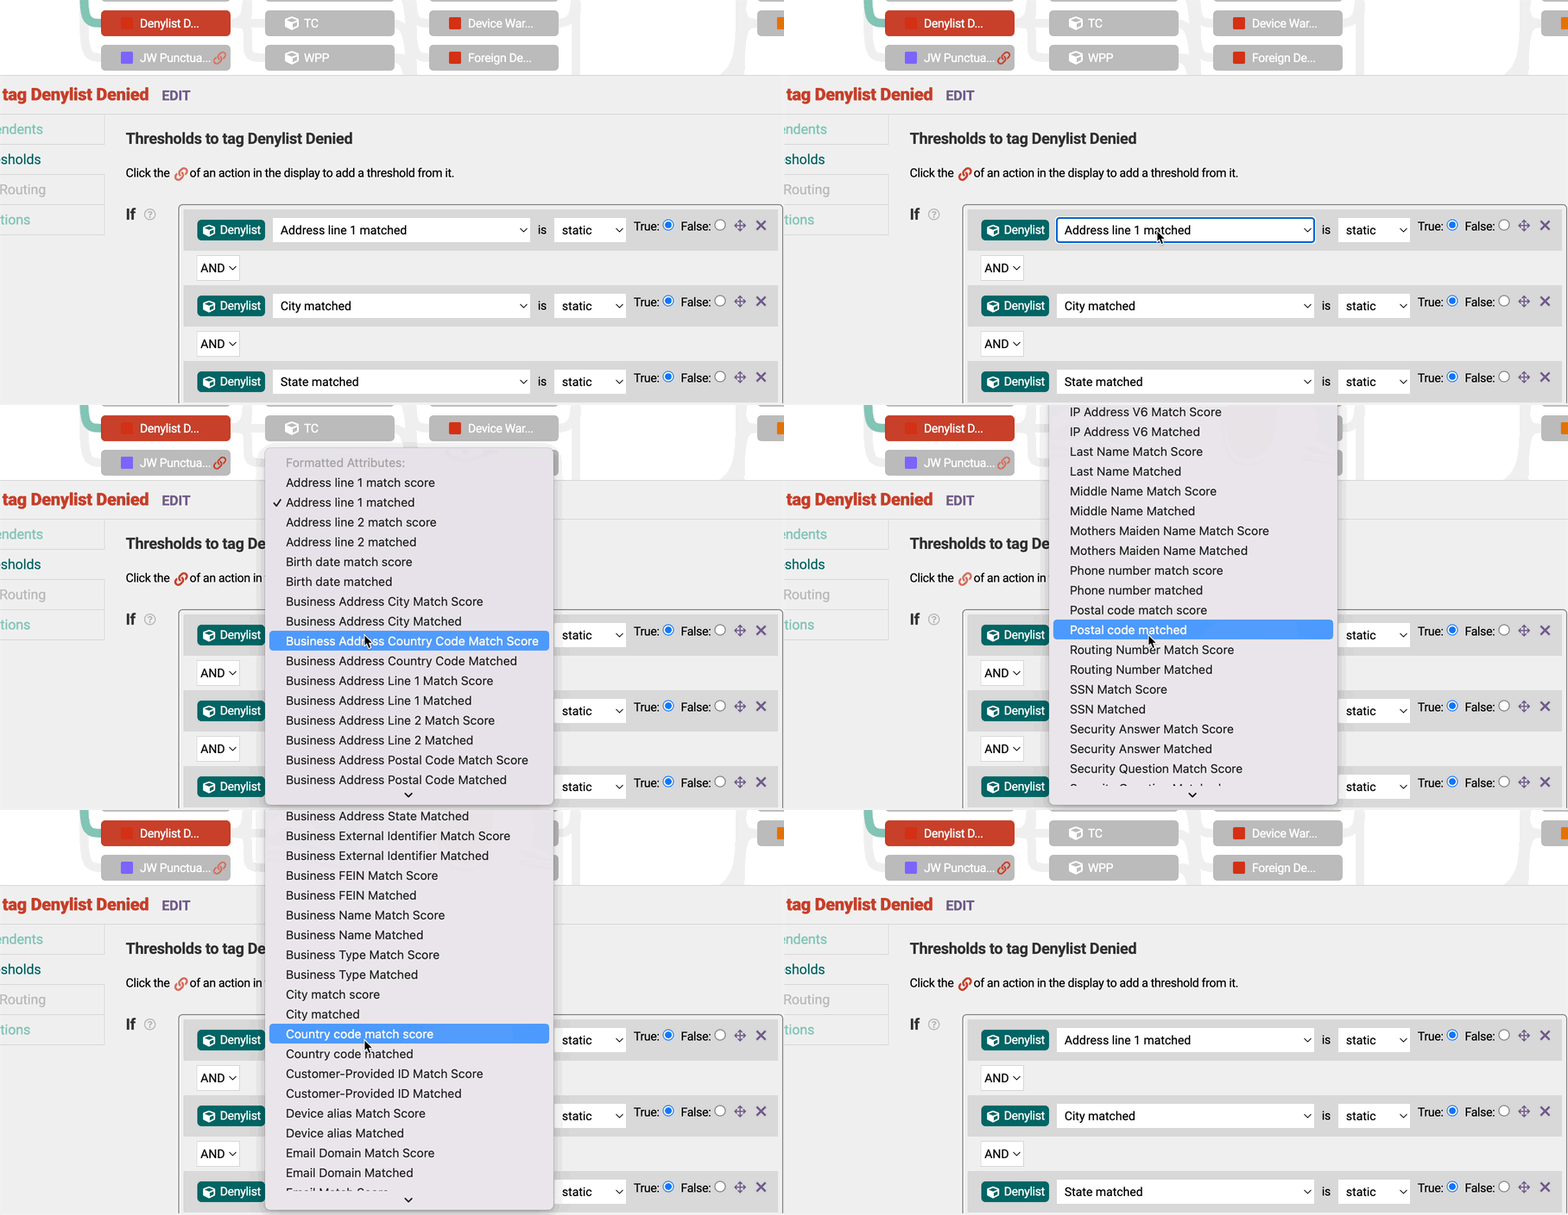
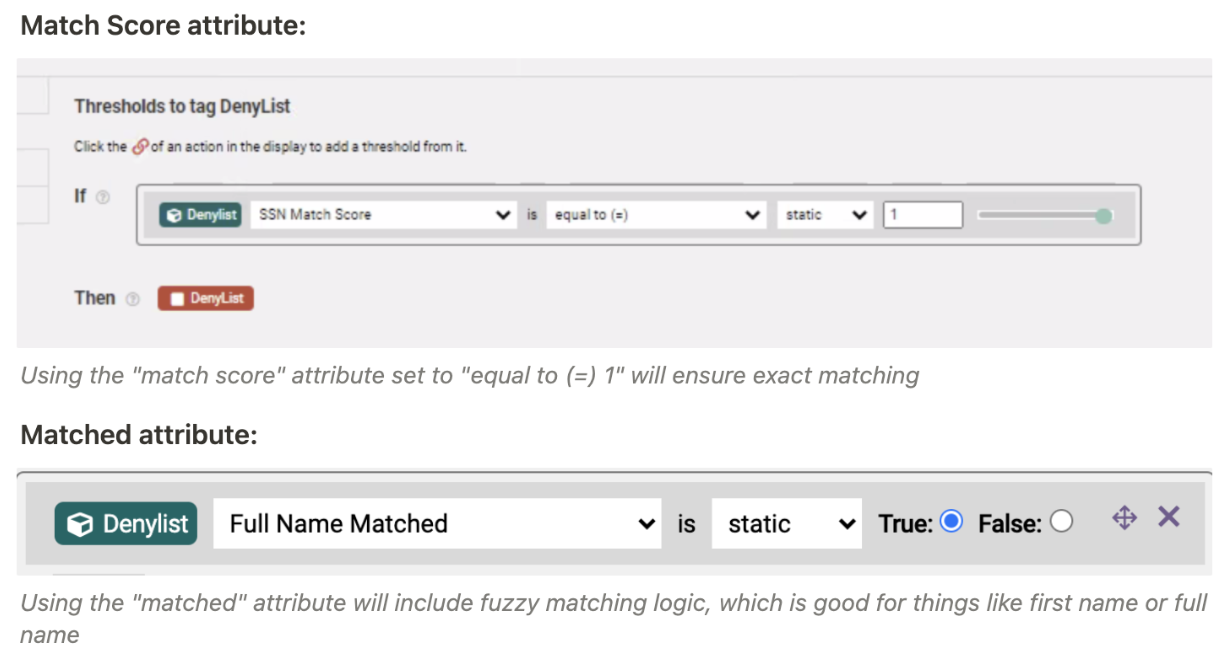
We recommend that non-fluid PII elements use exact matching using the Match Score attribute equal to 1 in the tag’s threshold logic. For fluid PII elements where there can be flexibility in fuzzy matching, we recommend using the Matched attributes with a boolean true value in the tag’s threshold logic or controlling the fuzziness of the matching by adjusting the threshold for the Match Score attribute (a score of 1 indicates exact match and anything below is fuzzy matching).
In the workflow, you can select attributes to check against the Allow or Deny List to auto-approve or auto-deny applications.
Updating the Outcome Logic
Now that the List service and a tag have been added to the workflow, the tag must be added to the Outcome logic. In this example, we added a Denylist and created a “Denylist Denied” tag that will auto-deny evaluations. If you’re adding an Allowlist, you may want to modify your approved Outcome to auto-approve evaluations.
- Click on Outcome.
- Go to Denied outcome condition (or Approved outcome condition if using Allow List), and click on Edit.
- Click the link icon on the “Denylist Denied” tag gray node to “Link to dependent action.”
- Set up the Denied outcome (or Approved outcome if using the Allowlist) condition/logic -
tag:Denylist Denied is set. - Click on Done.
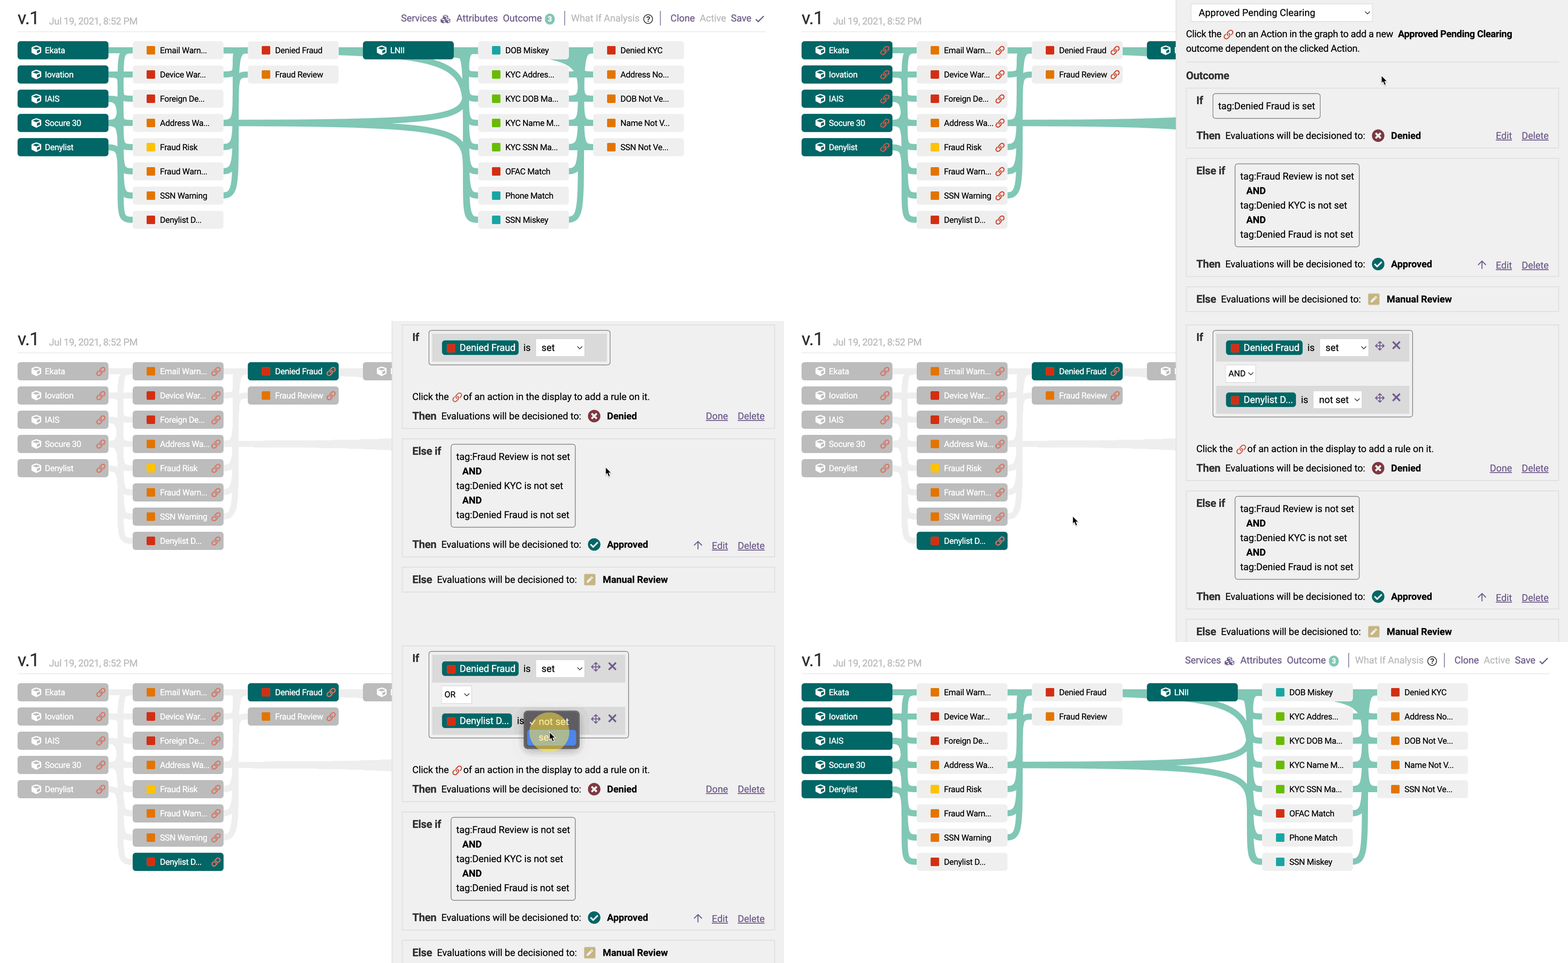
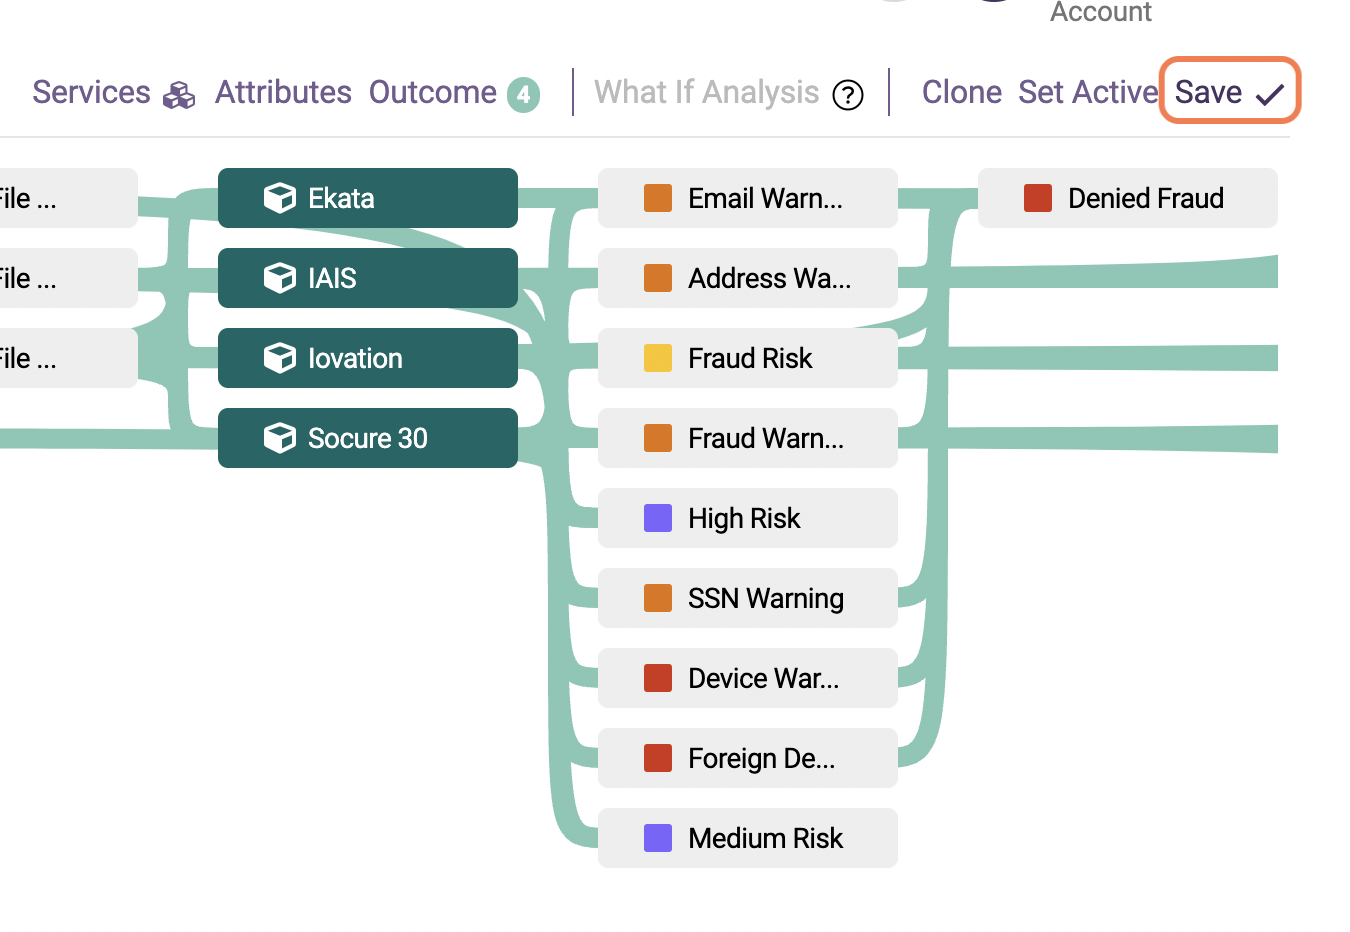
- Once ready to save, click on Save, and a new version of the workflow will be created.
Comments
0 comments
Article is closed for comments.